




Kontroll Resonant Urban Survival Walkthrough: Olivia, mormor och brodern










 PlayStation
 Xbox
Xbox Steam
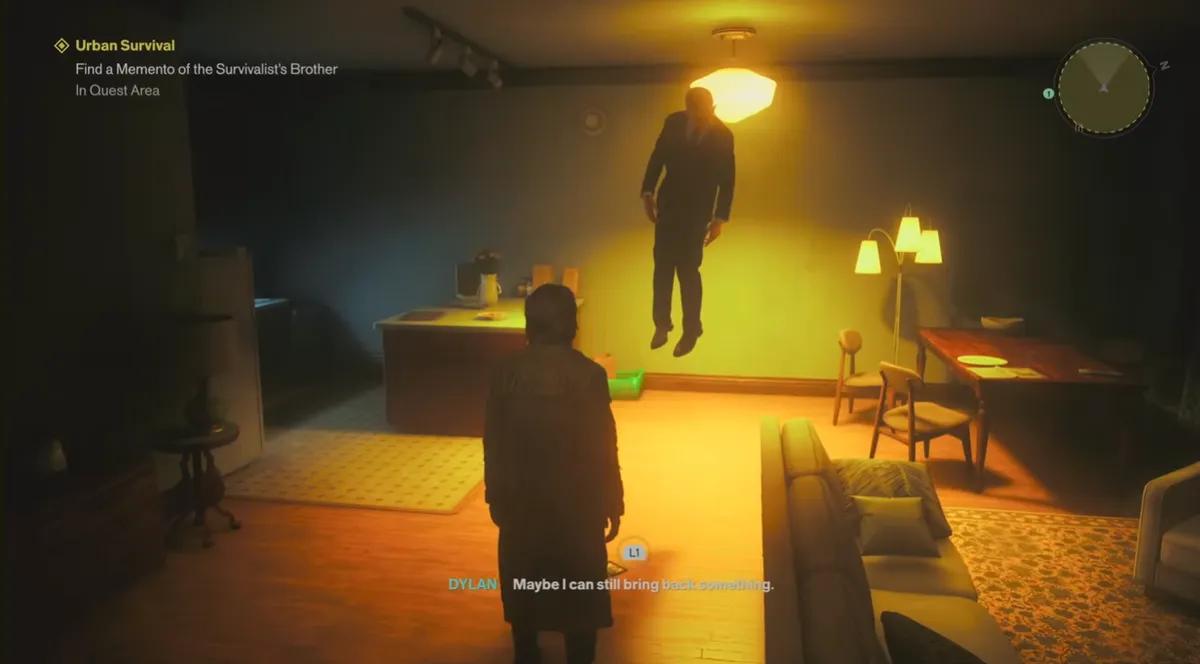
SteamUrban Survival is the longest side story you can run into while clearing the Evacuation Zone, and it asks for exploration and combat in roughly equal measure. None of it is difficult. All of it is spread out, and two of the three fetch objectives are not what their names suggest. The payoff is one of the better defensive Artifacts available this early.
Urban Survival Quest Overview
Type | Side Story |
Zone | Evacuation Zone |
Requirement | Access to the Evacuation Zone |
How to start | Read the Investigation Order outside the parking garage |
Rewards | Untapped Heart Monitor Artifact, Plate Carrier M1 cosmetic |
The full campaign order across all three quest chains sits in the Control Resonant Walkthrough Hub. The Evacuation Zone opens during Control Resonant Evacuation Procedures Walkthrough, and this quest sits in a part of the zone that mission never sends you to.
All Urban Survival Steps
The quest is a chain of three requests from the same person, each unlocked by finishing the last.
- Read the Investigation Order outside the parking garage
- Navigate the garage and reach the bunker door
- Clear a Hiss wave to convince the survivalist you are useful
- Retrieve Olivia from Pulse Fitness
- Retrieve Granny from the survivalist's apartment
- Find the car, take the keys, and locate his brother
- Return the photograph and speak to him once more
How to Start Urban Survival

Head to the southwestern portion of the Evacuation Zone, marked on your in-game map with the note Unauthorized mines.
There is a parking garage there, and a report sitting on a box just outside it. Pick up and read the Investigation Order to start the quest, then head into the garage.
Unlocking the zone map before you attempt any of this saves a great deal of walking, since almost every objective here is given by district rather than by marker.
How to Reach the Survivalist's Bunker

The garage is a short maze rather than a fight.
Head down the ramp into the garage, take a left, and continue until you reach the far wall. Take another left. On your right, to the east, is a second ramp leading back up toward street level with a checkpoint at the end of it.
Back at street level, turn east and keep going until you see another doorway laden with mines on your right. That is the one you want.
Go inside the mined building and turn left. A survivor will tell you to halt. Speak to him through the intercom next to the door with the yellow light and camera above it.

He is not going to open up on your word alone. A small wave of Hiss spawns, and clearing it is what convinces him you can handle yourself. The wave is not dangerous by the standards of anything else in the Evacuation Zone, but the space is tight, so keep moving rather than letting them corner you against the bunker door.
Worth noting before you go any further: you never actually get inside. Every exchange in this quest happens through the intercom and the table outside his door, which is part of the character rather than an oversight.
With that done, he gives you two names to retrieve: Olivia, who is at the gym, and Granny, who is back at his apartment. You can do them in either order.
Where to Find Olivia

The gym is Pulse Fitness, in the central part of the Evacuation Zone, and it is heavily guarded by Hiss. Clear them out and head inside.
The first door on the left is a gym staff office. Olivia is in there.
Olivia is a potted plant. Pick her up and carry her, exactly as you would any other object in Control Resonant, and start making your way toward the survivalist's apartment.
Carried objects behave the same way here as everywhere else in the game. You keep your traversal moves while holding one, so double jumping and mantling across the Evacuation Zone rooftops is fine, and dropping the plant costs you nothing beyond picking it up again. There is no timer and no fragility to worry about, which means the trip between objectives can be as scenic as you like.
Where to Find Granny

The survivalist's home is in the northeastern section of the Evacuation Zone, north of the building spewing red light, which is the same landmark you used during the main story.
You cannot enter from the street. The way in is from the roof, and the entrance sits just east of the Show Them Who's the Boss sign.
Inside, take the stairs down to the lowest accessible floor with the elevator and enter the apartment on your left. Granny is in the southwestern corner of the apartment.
Granny is an urn. More precisely, she is Granny's ashes, which does at least explain why she has not evacuated herself. Pick up the urn the same way you picked up Olivia and head back.
Place both items on the table next to the survivalist's door. He is grateful, and immediately has one more request: find his brother and reunite the two of them.
How to Find the Survivalist's Brother

Getting into the brother's apartment needs keys, and the keys are in the survivalist's car.
The car is in the far north of the Evacuation Zone, near the Railway Street Station. Head north until you run into the massive walls of blue mold, which is the visual cue that you have gone far enough.
Finding the car among all that is done by ear rather than by sight. Use the survivalist's key fob to set off the horn, then follow the sound. The car is buried in a large crevice of blue mold on the eastern side of the area.
From the car, head west past the Railyard Street Fast Travel Door and the semi truck loaded with girders, until the apartment building entrance appears on your right.
Open the door and take the elevator up. The brother's apartment is the first door on the left.
The brother did not make it. He has been taken by Hiss corruption, and there is nothing to be done about it. All you can take from the apartment is a picture of the two brothers together, which goes back to the survivalist.
There is no alternative outcome here and no choice to make. The quest sets up a reunion and delivers a photograph instead, which lands harder than it would if the two errands before it had not been a houseplant and an urn.
Urban Survival Rewards

Handing over the picture completes the quest and pays out the Untapped Heart Monitor Artifact and the Plate Carrier M1 cosmetic.
The Heart Monitor prevents death once and immediately restores 20% of your health when it triggers. For a side quest available this early, that is a genuinely strong effect.
The reason it outperforms most early Artifacts is the shape of Control Resonant's fights. Arena Encounters and Resonant Entity battles are long, healing comes only from kills and scattered Health Elements, and the usual way a run ends is one mistake at the end of an otherwise clean fight. A free recovery converts exactly that situation into a win, which no percentage buff on damage or Falter can do.
Like other Untapped-line items, it does nothing sitting in your inventory. It has to be activated and equipped, and the slot it occupies is one you may want to think about, since some Artifacts pair a buff with a drawback.
Talk to the survivalist one more time after the quest ends. He unlocks his side room, which holds a basic material crate. It is easy to walk away before this happens.
Common Mistakes

Trying to enter the survivalist's apartment building from the street. The only way in is the rooftop entrance east of the Show Them Who's the Boss sign.
Searching the mold walls visually for the car. Use the key fob and follow the horn. The car is inside a crevice and is not visible from the road.
Assuming Olivia and Granny are people. They are a plant and an urn, and both are carried objects rather than escort targets.
Leaving before the side room opens. Speaking to the survivalist again after completion is what unlocks it.
Sprinting through the mined approach. The quest's starting area is flagged on the map as a mine field for a reason, and both the garage route and the bunker doorway are lined with them.
What to Do Next
You are already in the right part of the map for two more side stories. Control Resonant The Last Taxi Walkthrough starts from the bright yellow parking lot entrance in the southern section, a short walk from where this quest begins, and Control Resonant Freeze Frame Walkthrough has both of its Evacuation Zone cameras in the eastern and northern parts of the zone.
If you would rather push the campaign, Control Resonant Evacuation Procedures Walkthrough covers the main story mission that runs through this same zone.


 Det har lyckligt kopierats... Tack för att du delar vårt innehåll!:



5% insättningsbonus upp till 100 ädelstenar

0% avgifter på insättningar och uttag.





11% insättningsbonus + FreeSpin


EXTRA 10% INSÄTTNINGSBONUS + GRATIS 2 HJULSPINN

Gratis case och 100% välkomstbonus


5 gratisfodral, daglig gratis & bonus

3 gratis casinos och en bonus på 5% på alla kontantinsättningar.

+5% till insättning




Kommentarer