




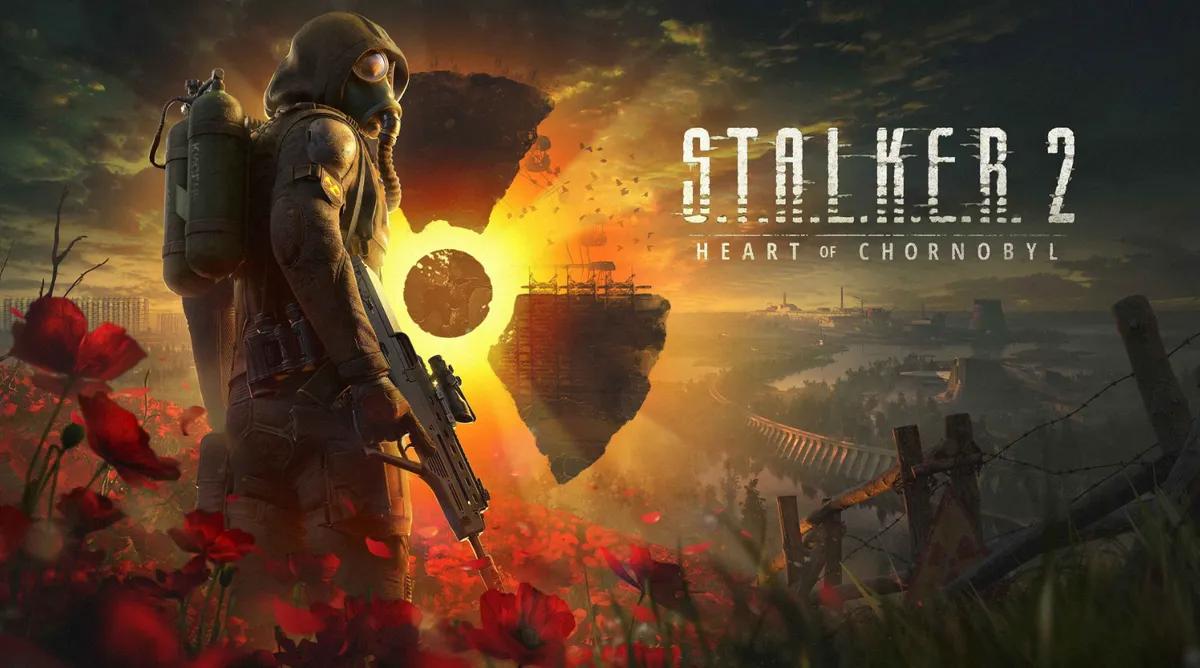
Alla STALKER 2-slut: Fyra basrutter och båda Cost of Hope-resultaten










 GSC Game World
Six endings exist across STALKER 2 and its expansion, and they run on two systems that never touch each other. The base campaign has four, decided by choices in three specific missions late in the story. Cost of Hope has two, decided by one conversation halfway through the expansion. Backing Duty or Freedom in the DLC does not change which of the four base endings you get, which is why searching for STALKER 2 endings returns the campaign's outcomes and buries the expansion's. This guide covers all STALKER 2 endings and the exact choice that produces each one.
How Many Endings Does STALKER 2 Have?
Six in total, four plus two. The split matters because the two sets are decided in different places and can be combined freely, and Every Cost of Hope DLC Mission in STALKER 2 shows where the expansion's fork sits in relation to the main story.
Ending | Game or DLC | Decided by |
|---|---|---|
Ward, Brave New World | Base game | Dangerous Liaisons |
Spark, Today Never Ends | Base game | Subtle Matter |
Strelok, She Will Never Be Free | Base game | The Last Wish |
Kaymanov, Project Y | Base game | The Last Wish |
Duty ending | Cost of Hope | The Destructive Power of the Mind |
Freedom ending | Cost of Hope | The Destructive Power of the Mind |
The Three Missions That Decide Your Ending

Everything before these three shapes how the game treats you and none of it locks an ending. Three missions carry the weight:
- Subtle Matter. Choosing "Eternal spring" or "I need more time" branches you toward Spark. Choosing "Life is for the living" keeps the other three open.
- Dangerous Liaisons. Choosing "I'm not your enemy" or "I'm with you" commits you to Ward. Choosing to escape keeps Strelok and Kaymanov open.
- The Last Wish. Firing gives you Strelok. Lowering the gun gives you Kaymanov.
The game pauses at each of these and lets you think, and none of them can be reversed without loading an older save. Two of the four endings share the first two choices outright and diverge only at the third, which is why so many walkthroughs describe Strelok and Kaymanov in nearly identical language and leave readers unsure which one they are actually heading toward.
Earlier decisions still change the shape of the run. Skif's reputation moves with them, factions you have been fighting can turn friendly, and characters who trusted you can stop. Reputation built across the campaign changes who talks to you along the way rather than which of the four you land on, and All Factions in STALKER 2: Bases, Reputation and Who to Side With covers what that reputation does control.
Spoilers for the base campaign's final act follow.
All Four Base Game Endings

Four routes, and the last two differ by a single button press. What you carry into the final missions matters, since two of these routes end in extended firefights, and STALKER 2 Weapon Tier List: Every Gun Ranked, Including Update 2.0 and DLC covers what to bring.
Ward Ending: Brave New World
Colonel Korshunov leads the Wardens, and he has considerably more history in the Zone than the early game lets on. Together with SIRCAA he wants the Zone controlled and brought to order.
The route needs two choices. Say "Life is for the living" during Subtle Matter, then side with Korshunov during Dangerous Liaisons with either "I'm not your enemy" or "I'm with you". Backing him there closes off every other ending, so this is the shortest of the four to commit to and the hardest to walk back. Anyone who has spent the campaign working for the Ward and SIRCAA will find the dialogue reads as the natural continuation rather than a turn.
Spark Ending: Today Never Ends
Spark follows Scar, who believes in a place called the Shining Zone where suffering ends. His followers treat that belief as doctrine while everyone else calls it a fantasy.
This is the only ending that branches at the first of the three missions. Choose "Eternal spring" or "I need more time" during Subtle Matter, then escape during Dangerous Liaisons rather than joining Korshunov. Taking the escape route rather than the alliance is what keeps you on Scar's path. Escaping from the cage at that point is the specific action the game is checking for, and it is easy to miss if you are treating the sequence as a fight rather than a decision.
Strelok Ending: She Will Never Be Free
Strelok loves the Zone more than he cares about anyone in it, and treats anyone who wants to harm or control it as an enemy regardless of their colours.
Say "Life is for the living" during Subtle Matter, escape during Dangerous Liaisons, then fire during The Last Wish. That final shot is the only thing separating this ending from the next one, which is why so many players end up in the wrong one and assume the guide was wrong. Save immediately before The Last Wish and you can watch both in ten minutes.
Kaymanov Ending: Project Y
Dr Kaymanov was there when the Zone was born and cares about everything living inside it, mutants included. He wants it left free rather than controlled or destroyed.
Follow Strelok's path exactly: "Life is for the living" during Subtle Matter, escape during Dangerous Liaisons. At The Last Wish, lower the gun instead of firing. Skif refuses to shoot, Kaymanov chooses to die to the Emission bearing down on his home instead, and Skif takes up the doctor's vision of a Zone that is neither leashed nor erased.
Spoilers for Cost of Hope's midpoint and both endings follow.
Both Cost of Hope Endings

The expansion's fork arrives during The Destructive Power of the Mind, a main mission where Skif, Zulu, and Mavka break into the X16 laboratory to recover technology stolen by Nord and a group of mercenaries. What they find inside the pod turns out to be a mutant rather than a device. Cost of Hope has its own creature roster to match, and All Mutants in STALKER 2: Full List, Weaknesses and How to Kill Them covers the two it added.
Zulu wants it destroyed. Mavka wants it kept and used to reshape the Zone into something better. The game refuses to let you split the difference.
Duty Ending
Siding with Zulu locks it in. Skif pushes Mavka aside and shoots the creature himself, an escape sequence follows, and Zulu comes through on the radio showing a flicker of concern for Mavka. Freedom turns hostile from that point, with Mavka among them, and Zulu accompanies Skif for the rest of the story. Zulu's caution wins and his arc closes on his own terms. It is the quieter of the two conclusions.
Freedom Ending
Siding with Mavka produces something stranger. Zulu shoves Mavka away and shoots the creature anyway, so the pod ends the same way regardless of who you backed. Mavka comes through on the radio furious at him, then travels with Skif afterwards. Duty turns hostile, Zulu among them. Her conviction that the technology could improve the Zone curdles as the story closes in, and the path ends with her turning on you rather than delivering the future she promised.
What Each Cost of Hope Route Changes

The two paths differ in more than the final cutscene.
Duty route, Zulu | Freedom route, Mavka | |
|---|---|---|
Exclusive missions | In Memory of the Fallen, Gunpowder Sweat and Blood | Status Quo, Dangerous Way, Uninvited Guests |
Water Purification Facility | You attack it | You defend it |
Hostile faction | Freedom | Duty |
Unique weapons | Warszawa, Mriya, Stranger's Rifle | The Clapper, Guardian, Leichtfuchs, Freedom's Bounty |
Side missions | Same six, different quest givers | Same six, different quest givers |
One detail is worth flagging because it surprises people on a second run: the creature in the pod dies either way. Zulu shoots it himself if you side with Mavka, and Skif shoots it if you side with Zulu. What the choice actually decides is who walks beside you afterwards and who starts shooting at you, not whether the thing survives.
Route-specific gear is the practical reason to see both, since four of the expansion's twelve weapons sit behind Freedom and three behind Duty. Best Armor and Artifacts in STALKER 2: Suits, Slots and Cost of Hope Additions covers the artifacts, which stay the same either way.
How to See Every Ending in One Playthrough

Neither system requires a second full run.
- For the DLC, make a manual save right before the X16 standoff resolves and label it clearly. Finish one ending, load that save, pick the other side, and play The Price of a Miracle again.
- That is a few hours of replayed content rather than a second run through Cost of Hope.
- The save-before-the-fork approach works the same way if you used Advanced Start.
- For the base game, the ending choices sit deep enough in the story that one save before Subtle Matter covers all four.
- Do not overwrite either save while chasing side content. There is no other checkpoint that lets you choose again.
I lost my pre-standoff save to an autosave overwrite about six hours into the Duty route, which turned a twenty-minute comparison into a full replay of the expansion's back half. Label the file with something you will recognise at a glance. The regions you replay are the most hostile in the game, and All Anomalies in STALKER 2: Types, Arch Anomalies and Where to Find Them covers what you will be walking back through.
Which Ending Should You Pick

The game does not nominate a correct answer in either system, and the four base endings are separated by conviction rather than by outcome quality. Ward wants order. Spark wants transcendence. Strelok wants the Zone sealed and left alone. Kaymanov wants it set free. Whichever of those you find least objectionable is the one to play toward first.
For Cost of Hope, the split comes down to tone. The Duty ending resolves cleanly and asks less of you along the way. The Freedom ending is the rougher playthrough and the bleaker finale, and it leans into what the expansion's title is actually about. Anyone who has been playing Skif as sympathetic to Freedom's worldview across the base campaign will find it the consistent choice, and anyone who has spent forty hours running errands for Duty will find it the opposite.
Both are fully voiced and both cost one save file to compare, so treat "which one should I pick" as a first-playthrough question rather than a permanent commitment. Neither route gates content behind being the harder one, and neither is framed by the game as the correct reading of what happened at X16. I went Freedom first and would do it again, though I understand why people call the Duty ending the better-written of the two.


 Det har lyckligt kopierats... Tack för att du delar vårt innehåll!:



5% insättningsbonus upp till 100 ädelstenar

0% avgifter på insättningar och uttag.





11% insättningsbonus + FreeSpin


EXTRA 10% INSÄTTNINGSBONUS + GRATIS 2 HJULSPINN

Gratis case och 100% välkomstbonus


5 gratisfodral, daglig gratis & bonus

3 gratis casinos och en bonus på 5% på alla kontantinsättningar.

+5% till insättning




Kommentarer