




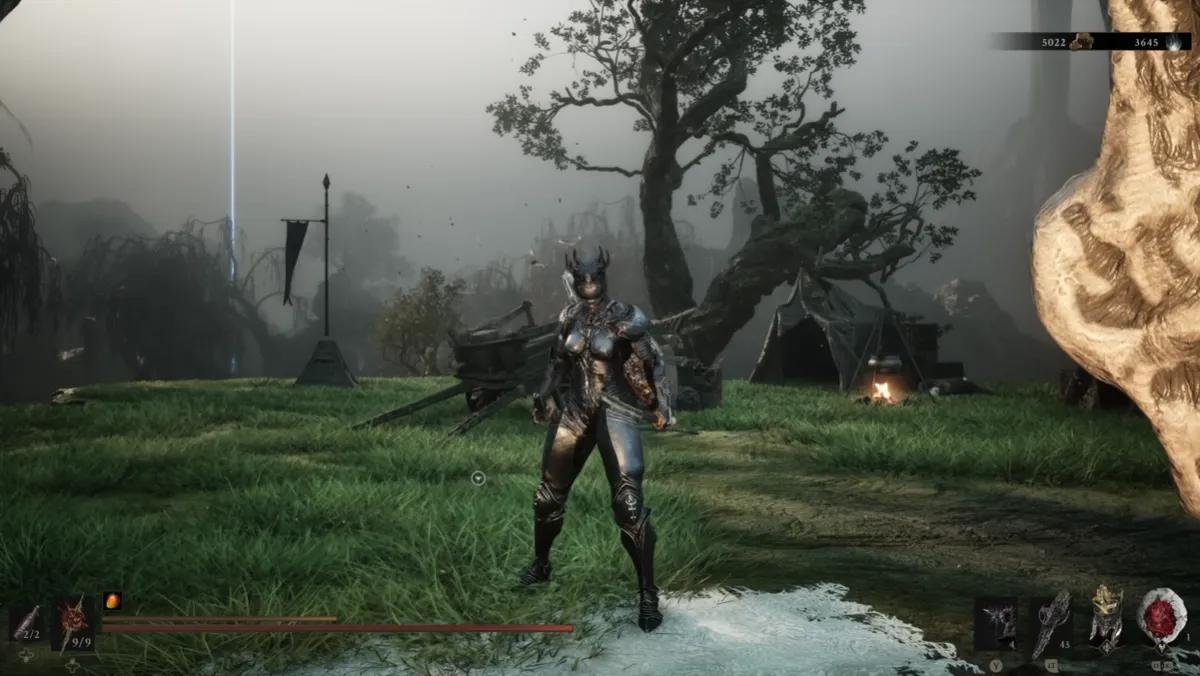
Alla skal i Mortal Shell 2: Var man hittar dem, upplåsningar och bästa val










 Steam
Steam Xbox
Xbox PlayStation
Mortal Shell 2 has eight permanent Shells to collect, plus Harros, who exists only for the prologue. Two of them get pinned on your map the moment you first walk into Marrow Keep. The other six want a boss dead, an item delivered, or a puzzle solved. Zhirelle will sell you the rest of the locations for Gloom, but she only marks the rough area, which is why this guide exists. Below are all Shell locations in Mortal Shell 2, how each unlock works, and which body suits which stretch of the run.
How Shells Work
Shells are the corpses of warriors the Harbinger occupies to fight in their place. Stepping into one rewrites your moveset, your stats, and your abilities, so swapping is closer to changing class than changing gear. Nothing from the Harbinger carries over automatically. Each Shell arrives with its own Health, its own combat identity, and its own way of failing.
Every Shell also grows through a skill tree that belongs to it alone. Points sunk into Tiel never touch Eredrim, so building one costs the others nothing. Weapons, Tarstones, and Seals stack on top of that as a second layer of the build, handled separately at the forge, but the Shell decides your base stats before any of that applies. Boss encounters expose that difference faster than anything else, and All Bosses in Mortal Shell 2: Locations, Order and Full Checklist lays out which fights punish a squishy body and which punish a slow one.
Switching is free and unrestricted, with no tie to whatever you are carrying. Marrow Keep is the main hub for it, and any activated Beacon in the world works too. Nothing charges you for changing your mind mid-run, so picking a counter before a specific fight is ordinary play rather than an exploit.
Dying inside a Shell does not end the run. When its health empties, the Harbinger gets knocked out of it rather than killed outright, losing that Shell's abilities but staying alive in its base form long enough to fight back and reclaim the body. Harros is the exception: lose him and he leaves the roster permanently, while every other Shell stays unlocked forever once found.
Every Shell Compared

Two Shells appear on your map immediately. The rest cost a fight, an errand, or a ritual. Every one of them still needs something in its hands, and Tarforge in Mortal Shell 2: Unlock Items, Materials and Upgrade Order covers the bench that turns that weapon into something a boss respects.
Shell | Where to Find | Key Ability | When to Take It |
|---|---|---|---|
Tiel the Acolyte | Grave east of Mushroom Village, near Widow's Overlook (Fainweald) | Lingering Shadow makes him undetectable and sets up a Shadow Strike; Shadow Dash builds Shadow on a late dodge | Marked from the start, and the most forgiving Shell for a first run |
Proxima the Broodseeker | Shattered Beacon, Blackridge Cliffs (Fainweald) | Biosampler hooks enemies into range with a Lightning follow-up; Grafted Armor halves some incoming hits | Also marked early, and the aggressive alternative to Tiel |
Gragu the Insatiable | One Legged Wolf Tavern (Fainweald), after delivering the Heart of Vatra | Staggering Blow scales with charge time; Revered Heart heals and refills on kills | Early game once the Heart is in hand, for anyone who wants built-in sustain |
Eredrim the Venerable | Citadel of Penance (Fainweald), reward for beating The Warden | Shoulder Bash and Ethereal Diapason deal Stagger and Break; Executioner stacks Slaughterer on Ripostes | Early to mid game, gated behind a boss, built around Ripostes |
Smert the Apostate | Prophet's Rest, near the Outskirts of Nochte beacon (Fainweald) | Miracle stops time; Deadly Revelation runs as a passive | Mid game, and easy to walk straight past |
Genessa the Wayward | Revenant Graves, then deliver the Sester's Censer to Genessa at Marrow Keep | Faithful Doubles and Stray Doubles attack independently; Duality keeps her active instead of severing | Mid game, needs a boss kill plus a delivery, best for summon play |
Lazlo the Justiciar | Royal Crypt of Mammon, reward for beating Vellen | Retribution is a heat shockwave that grows stronger and riskier with Overheat; Fortified Plate cuts flat damage | Mid to late game, a tank built on managing the Heat Meter |
Sariel the Endless | Chamber of Becoming, Silent Steps area, Ruins of Mammon | Exodus of Thorns inflicts Curse while building Pain; Purge converts damage to Pain when Pain is empty | Late game, the hardest to reach, and the highest risk on the roster |
Where To Find Every Shell in Mortal Shell 2
Tiel and Proxima are visible from the moment you arrive. The other six each want something specific from you first, and a few of those requirements are easy to miss entirely. What you carry into these fights matters as much as which body you are wearing, so All Weapons in Mortal Shell 2: Tier List and Where to Find Each One is worth having open alongside this section.
Tiel the Acolyte

Tiel waits in a shallow grave east of Mushroom Village, near the Widow's Overlook beacon. His approximate position gets pinned the moment you first reach Marrow Keep, so no blind searching is involved. Head east rather than into the village until you spot a fenced enclosure lit by torches, with a wooden gate flanked by two braziers. The gravestone sits inside on the left, beside a large tree, and the screen washes red with a heartbeat as you close in.
Interacting is the whole requirement. It triggers "The Rash", a short memory inside a small dwelling that ends with the option to switch. Martyr's Tomb sits right beside the same grave, holding the Obsidian Lathe that unlocks the sidearm bench, so one trip out here gets you a Shell and a forge upgrade together.
Proxima the Broodseeker

Proxima is the other Shell marked early, inside the Shattered Beacon dungeon in Blackridge Cliffs. From Widow's Overlook, head north into the cliffs and past the cultists busy fighting a Tarred Vestige. Keep going into the area patrolled by the white spider-like Infested Stalkers, and a structure that looks like another glowing Beacon appears ahead.
Her remains lie on a table inside. There is no boss, no key, and no delivery step, which makes her the fastest second Shell in the game. Getting there alive is the only real obstacle, since Blackridge Cliffs is more hostile than anything else this close to the starting route.
Gragu the Insatiable

Gragu sits in the One Legged Wolf Tavern as a living NPC, next to the tavern keeper who calls him a toothy brev behind his back. Talk to him and he asks for a Heart of Vatra. Cross the rope bridges extending from the tavern and veer northeast into a mountain pass crawling with vampire enemies, passing the Overrun Quarry dungeon on the way. Petrified priests mark the approach to the Temple of Vatra.
Inside, a chest opens for three offerings, all candles hidden nearby, and holds the Berserker's Stone. Take it before anything else. The Heart itself sits in the hands of a corrupted statue at the top of the highest stair, and grabbing it seals the main exit while the petrified cultists come alive. Side exits stay open, so leave through one of those. Back at the tavern, hand Gragu the Heart, watch him eat it and die, then inhabit him.
Eredrim the Venerable

Eredrim lies in the central arena of the Citadel of Penance in western Fainweald. Two routes get you inside: kill the Bloodcursed Lithopod for the Citadel Gate Lever, or head north of the One Legged Wolf Tavern to an abandoned area and pick up a strange sack that teleports you straight in.
From the Citadel of Penance beacon, move into the courtyard and drop into the pit to reach the lower level. This is a circular passage patrolled by enemies, with the arena visible through gates you cannot open. Keep circling until you find a lift and the lever that runs it. Ride it up, walk forward, and The Warden drops from above, collapsing the floor into the arena. He is unpleasant in a cramped space with almost everything unblockable, and his four-spin axe combo is the moment to back off. Eredrim's corpse sits in the pit once he falls.
Smert the Apostate

Smert hides in Prophet's Rest in Fainweald. From the Outskirts of Nochte beacon, turn left toward the rock bridge and follow the path up. Cultists are holding a ritual over circular structures in the ground filled with red liquid, and Smert's body lies on a stone slab nearby.
Three groups of cultists have to die inside those blood circles. None of them are dangerous alone, and the Troubadour's Lute turns the fight into a spectator sport if you are struggling. Once the ritual breaks, the screen glows red and the body becomes interactive. He can also be summoned as an NPC at Sunken Village, reached through the Corrupted Gate east of Mushroom Village.
Genessa the Wayward

Genessa is the training NPC in Marrow Keep, and talking to her repeatedly surfaces a side quest about a censer. To find it, explore the eastern Ruins of Mammon until you reach the Sester's Refuge. An area of red trees called Revenant Graves extends from it, and near the back sits a clearing full of red glowing Genessa figures with a censer against the cliff wall.
Touching the censer teleports you into a fight with Sester Secundus, a figure from Genessa's past who fights like the female cultists you have been killing for hours: long spear, lightning projectiles, considerable reach. Corner her with heavy combos and she folds fast. Her censer goes back to Genessa at Marrow Keep, where handing it over unlocks the first memory. She works differently from every other Shell: you switch to her as a separate character rather than inhabiting her, unlock her memories through the Stray Sester who covers the training room, and level her only at a Beacon.
Lazlo the Justiciar

Lazlo rests in the Royal Crypt of Mammon, with the High Lord's Courtyard beacon closest. From the beacon, climb the stairs to an air current and ride it up, avoiding the rolling Knight of Mammon at the top. Take the stairs down on your right into the dark crypt, where another Knight comes rolling down the narrow passage at you.
Vellen, High Lord of Mammon waits at the end, a figure from Lazlo's past who talks better than he fights. His scythe has real range, but a sustained barrage of heavy attacks ends him quickly, and most players reach him late enough that he barely registers. The room behind opens onto Lazlo's body.
Sariel the Endless

Sariel is the last one and the only Shell you fight twice. From The Silent Steps beacon, take the Bone Gate to the brutalist structure nearby and walk to its central extension, where he attacks with the Clockwork Scythe. He fights near an edge, and knocking him off ends the first round in seconds.
Explore the stairs behind the massive statue for the Chamber of Becoming, guarded at the entrance by a Knight of Mammon. Hit Sariel a few times inside and a wall slides down, revealing a deeper room with a sigil ringed by four stones. Until those stones break, he resurrects every time his health empties. Destroy them first and the fight ends properly, handing over the Shell, the Clockwork Scythe, and the Caged Hystrix on the way out.
Best Shells for the Opening Hours
Tiel, Proxima, and Gragu carry the early game. All three sit close to the starting route through Fainweald, and only Gragu asks for an errand. Your ranged slot matters here too, and All Sidearms in Mortal Shell 2: Tier List, Locations and Best Tarstones covers which of the eight compensate for a Shell that struggles against crowds.
Tiel is the most forgiving body in the game. Shadow Dash fires on a well-timed dodge and turns him briefly undetectable, buying a second chance in fights whose patterns you have not learned. Lingering Shadow lets him vanish on command and open with a Shadow Strike, and no enemy in the game can find him while shadowed. All of that works before you spend a single point in his tree, which is why most players never look further for a first pick.
Proxima suits anyone who would rather press forward than disappear. Her Biosampler hooks an enemy into range, or drags her toward them, closing distance fast and setting up a Lightning follow-up. Grafted Armor gives a 15% chance to cut an incoming hit in half without staggering her. It is not a free dodge, but across a long fight that chance covers several of the mistakes a new player makes while still learning timings.
Gragu costs one delivery and pays it back for a long time. Staggering Blow scales with how long you hold the charge, and Revered Heart heals him and refills on kills, so he outlasts fights that shred squishier bodies. I ran him well past the point most guides suggest dropping him, though multi-phase bosses eventually punish those charge windows hard enough that he stops being safe.
Best Shells for Bosses and the Endgame
Eredrim, Genessa, and Smert cover the late game between them, each for a different kind of fight. Eredrim runs entirely on Breaking enemies and following up with Ripostes, which is the exact rhythm most bosses reward, though he handles groups of ordinary enemies badly. Genessa carries the highest damage ceiling once her Bond Tier is built: her doubles fight on their own while you stay outside the boss hitbox, and Duality keeps her active instead of severing when her health runs out. She is also the answer to bosses with tracking grabs, since a summon pulls aggro that would otherwise be aimed at you.
Smert belongs to players who trust their own dodge timing. His loop stops time with Miracle, stacks Chaos through unarmed hits, and rides his health down toward 10% before resetting, leaving almost no margin and producing the highest burst on the roster.
Sariel rewards aggression rather than patience. Purge triggers whenever Pain is empty, converting half of the next hit into Pain instead of damage, and his evasion speed rises once Pain caps. That Pain then turns part of your current health into Grey Health, recoverable by landing melee hits, but a single hit taken while it is still grey erases it permanently. It behaves like a rally system, not a defensive one.
Weapon choice compounds all of this. A Shell built on Ripostes wants something that Breaks quickly rather than something that swings hardest, so Eredrim pairs better with a battle axe than with the Obsidian Hammer, whose recovery leaves him standing still exactly when a boss punishes it. Genessa goes the other way and suits a fast weapon, since her doubles are already handling pressure while you land safe hits from the flank. Smert barely cares what you carry, because his damage comes from unarmed Chaos stacks rather than from the thing in your hands.
One warning worth repeating: Gragu, the strong early pick from the section above, falls off badly here. His charge windows get punished by multi-phase attack strings, so he should never be anyone's only late-game option.
Resolve, Glimpse and Shell Points
Shell abilities run on three separate resources rather than one. Active abilities like Lingering Shadow or Retribution burn Resolve during combat, generated by landing weapon hits or breaking the Resolve totems scattered around the map. That is in-fight fuel and nothing else.
Permanent progression splits between Glimpse and Shell Points, which unlock different halves of the same system. Glimpse comes from chests, cleansing Corrupted Beacons, and specific NPC interactions. Take it to Zhirelle at Marrow Keep and choose to deepen the bond, which raises that Shell's Bond Tier, opens the next row of its tree, and for Shells like Tiel unlocks a new memory. Shell Points come from levelling the Harbinger with Gloom at any Beacon, which simultaneously raises Health, Shell Health, Base Damage, and Critical Chance. Once Glimpse has opened a tier, Shell Points are what you spend inside it on nodes like Tiel's Escalation or Eredrim's Massacre. Reallocation is free, so testing costs nothing but time.
Gloom behaves the way the genre trained you to expect: earned from kills and effigies, dropped where you die, gone for good if you die again before reclaiming it. Glimpse is the scarcer currency, tied to exploration and specific story beats rather than to every kill. Zhirelle will also sell you approximate Shell locations for Gloom, a change from the patch that used to charge Glimpses, but the marker is vague enough that the currency is better spent on Bond Tiers than on a hint you can get from a guide.


 Det har lyckligt kopierats... Tack för att du delar vårt innehåll!:



5% insättningsbonus upp till 100 ädelstenar

0% avgifter på insättningar och uttag.





11% insättningsbonus + FreeSpin


EXTRA 10% INSÄTTNINGSBONUS + GRATIS 2 HJULSPINN

Gratis case och 100% välkomstbonus


5 gratisfodral, daglig gratis & bonus

3 gratis casinos och en bonus på 5% på alla kontantinsättningar.

+5% till insättning




Kommentarer